Manage Endpoints
How to manage your endpoints
Now after you have created your microservice with default security for example, it came with a default version the 1.0.0. This version came with some preprared endpoints to manage the security whithin your microservice wraped in an endpoint group called Authenticaton Grizzly.
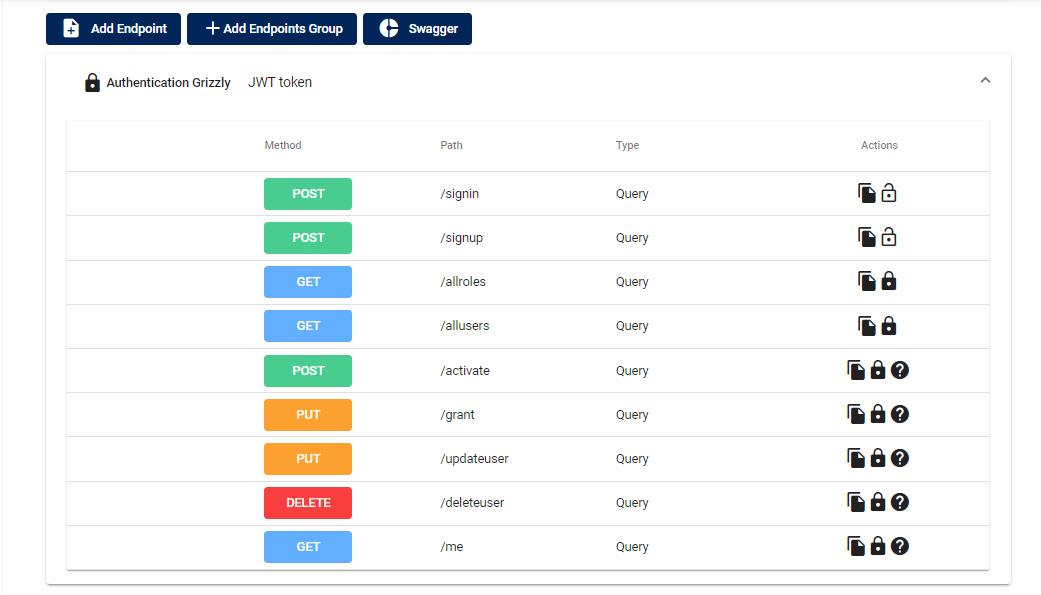
These endpoints allow you to manage the security of your microservice such as siginig up and logining in.
Let’s add now a new endpoint to our microservice:
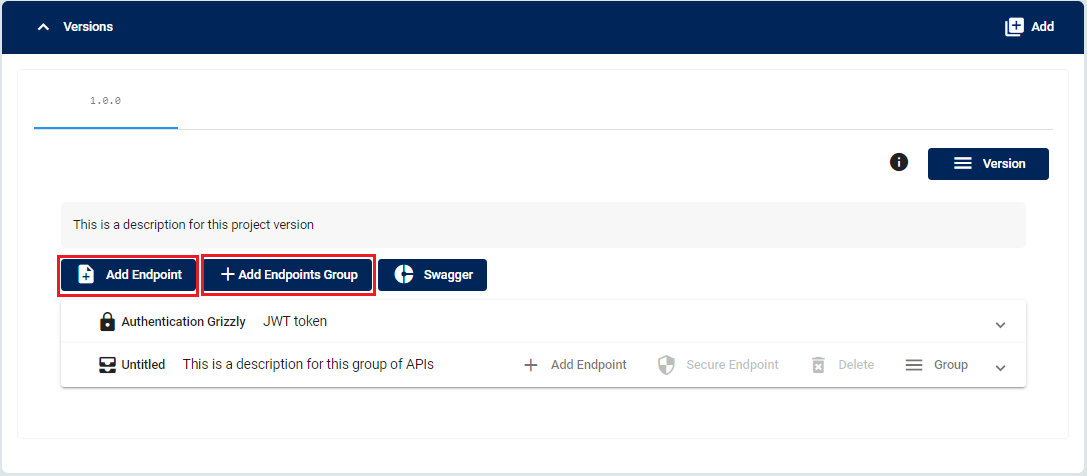
To add a new endpoint you have to choose the first option Add Endpoint , a modal will pop up that have 4 steps will lead you to the creation of your endpoint which will be added in the Untitled endpoint group , you can also create your own endpoint group by choosing the second option Add Endpoint Group.
The form contains 5 steps, in the first part you have to choose the Http Method , the path and finally the params or headers.
In this step we will link the endpoint and we can write also our own query. in this ase it’s findAll so the query will be {}
In this section, first we will configure the request and the response type, second we will define their models in TypeScript format then we can choose if we’re going to return an array or an object of that model. Finally we can customise our responses codes and descriptions.
In this part you can document your endpoint by adding a name, description and a summary to it.
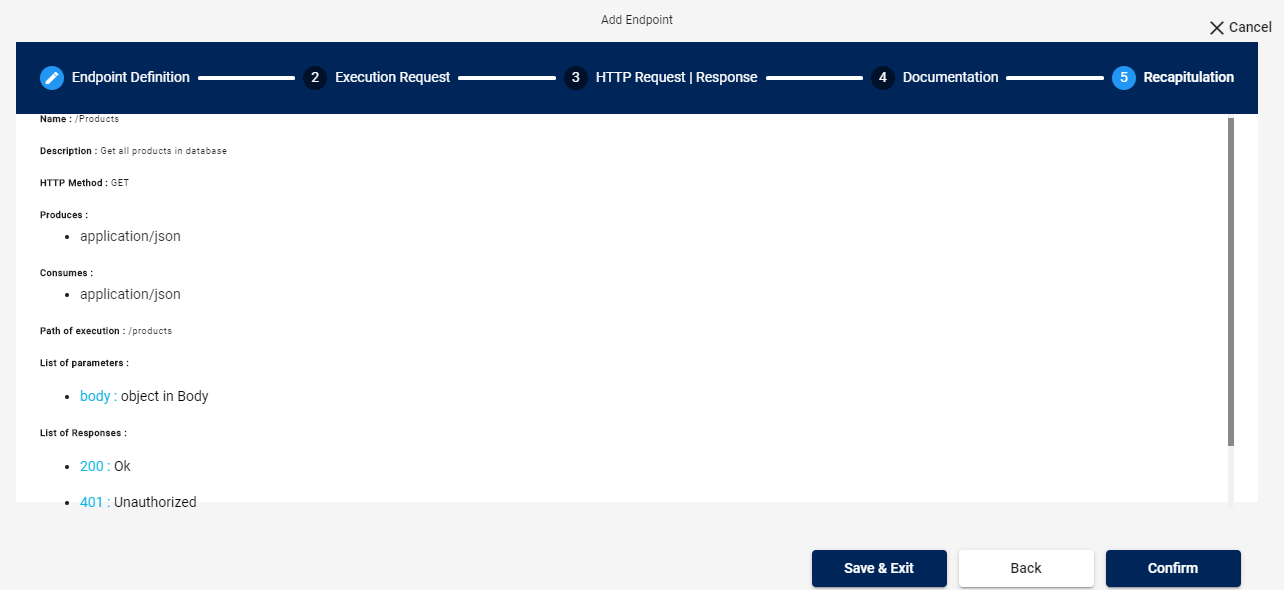
Before you validate your form we provide you a recapitulation of the endpoint
After you add your endpoint it will be added to the specified endpoint group, otherwise it will be added to the default endpoint group Untitled.
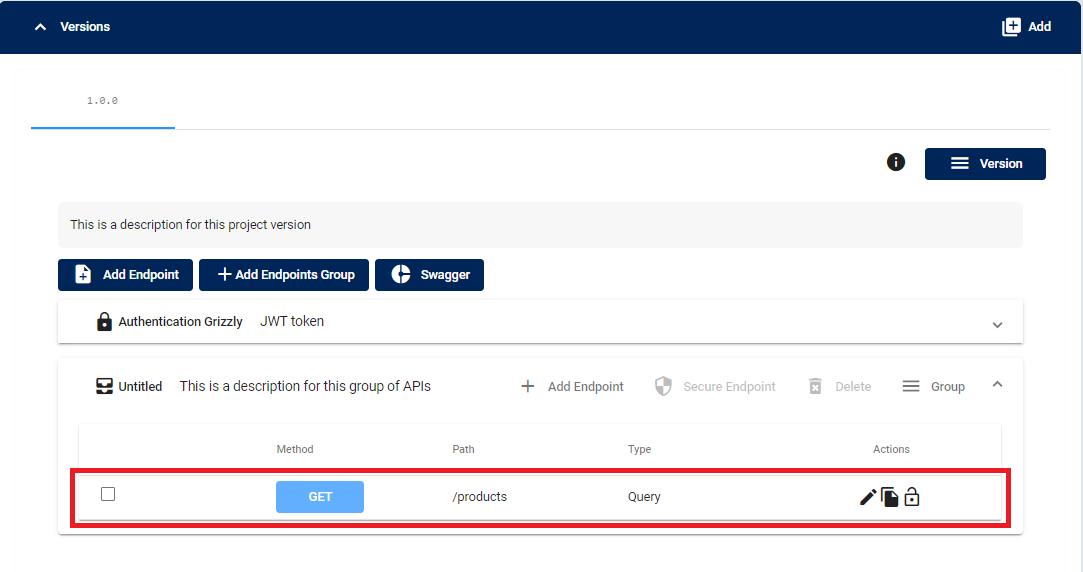
Once you check an endpoint you have 3 options, you can choose the pencil to modify the endpoint: a form similar to the add Endpoint will be opened , the second option will allow you to copy the url of the endpoint so you can use it after. The third option is the secure icon that will allow you to secure your endpoint for some specific roles.