Design your endpoints
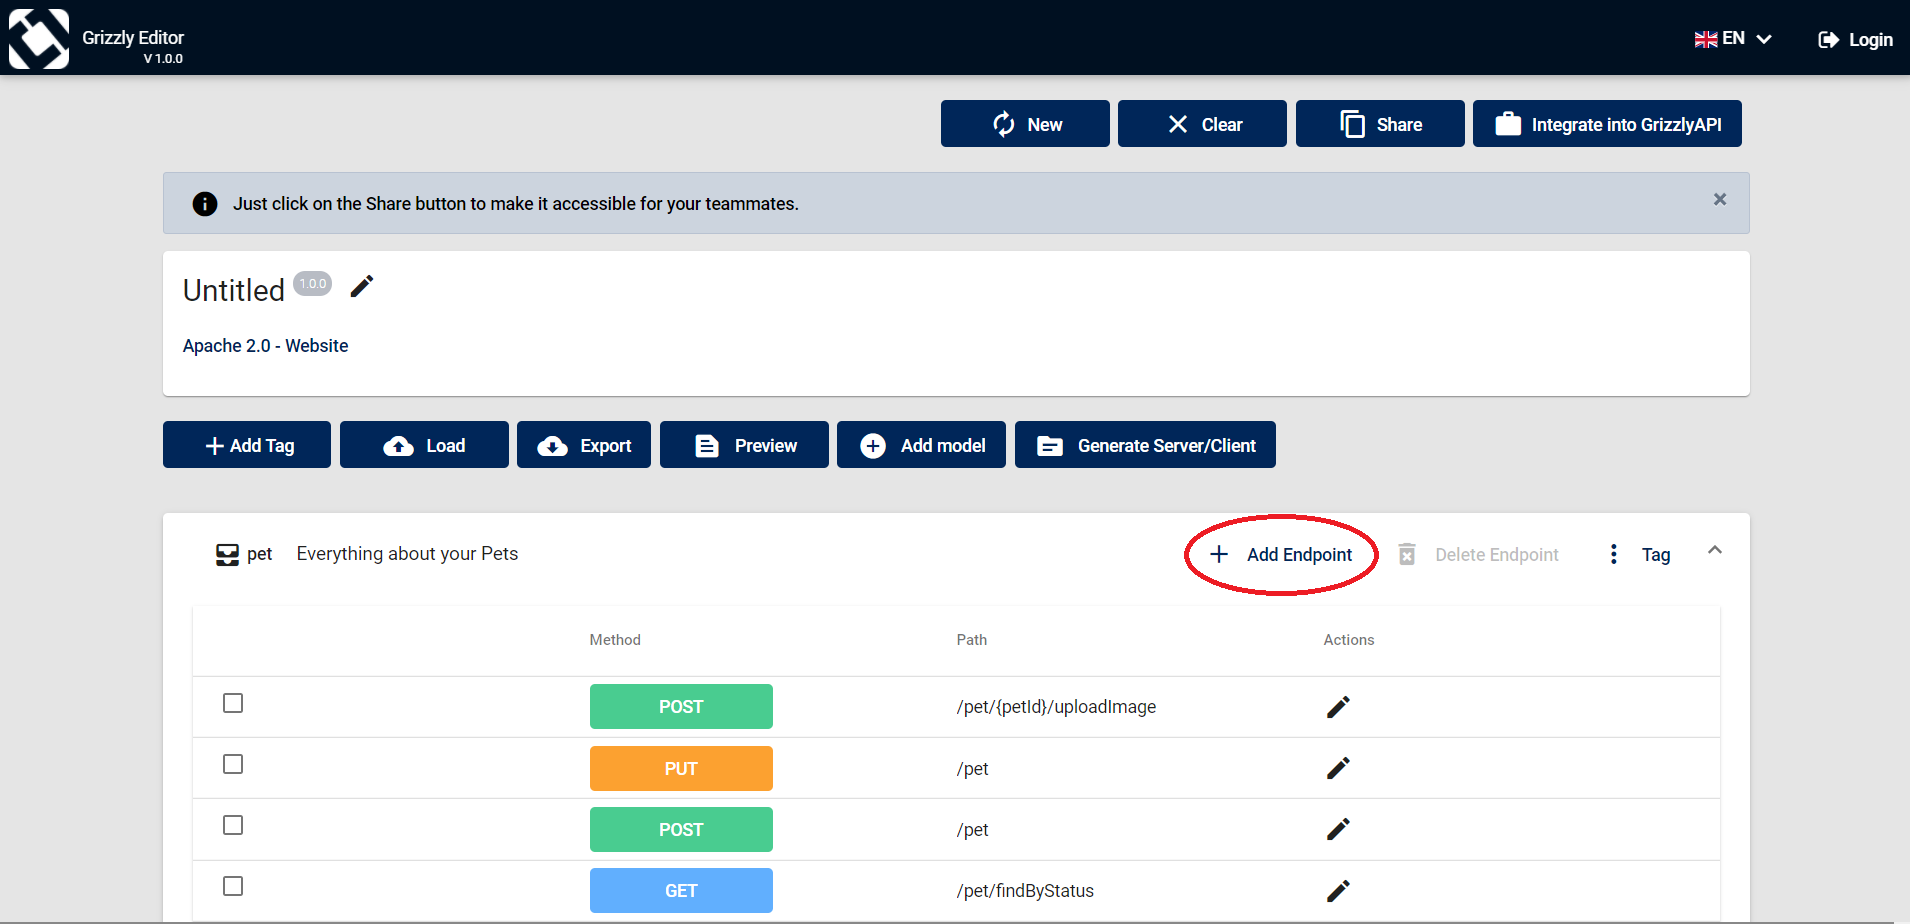
Click on the Add Endpoint button.
Choose your endpoint HTTP method from the dropdown list : GET, POST, PUT or DELETE.
Insert you endpoint path.
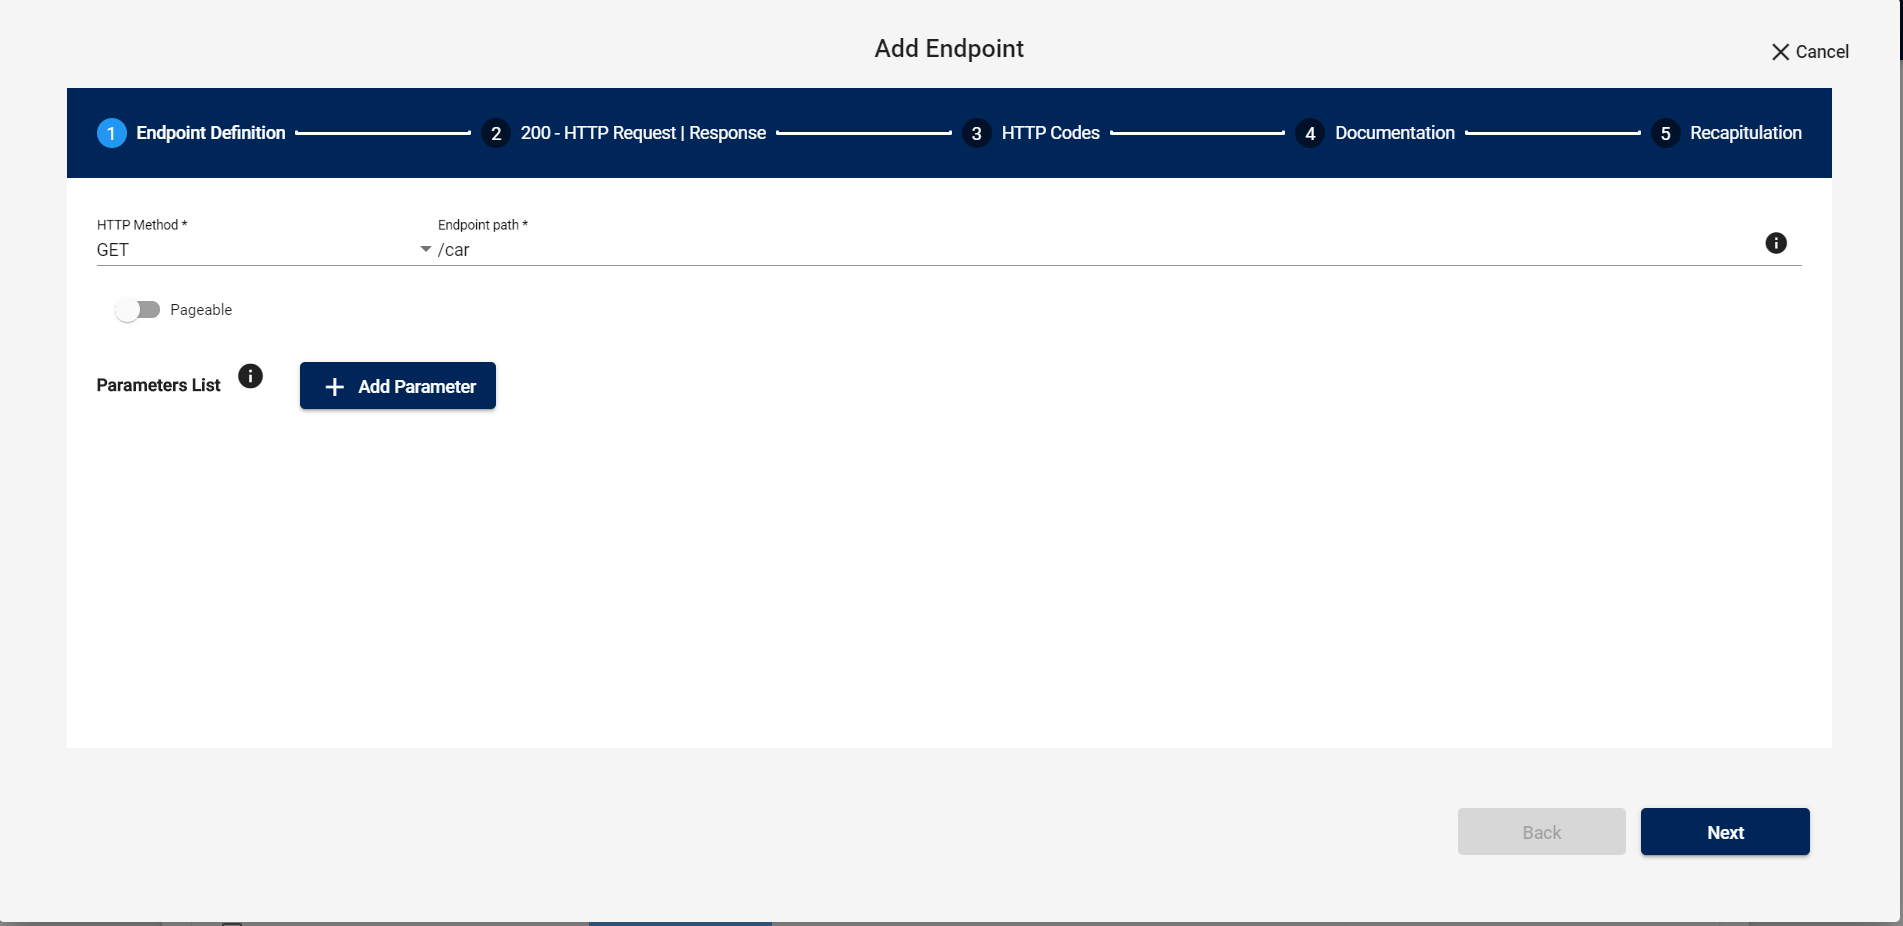
Click on the Add parameters button.
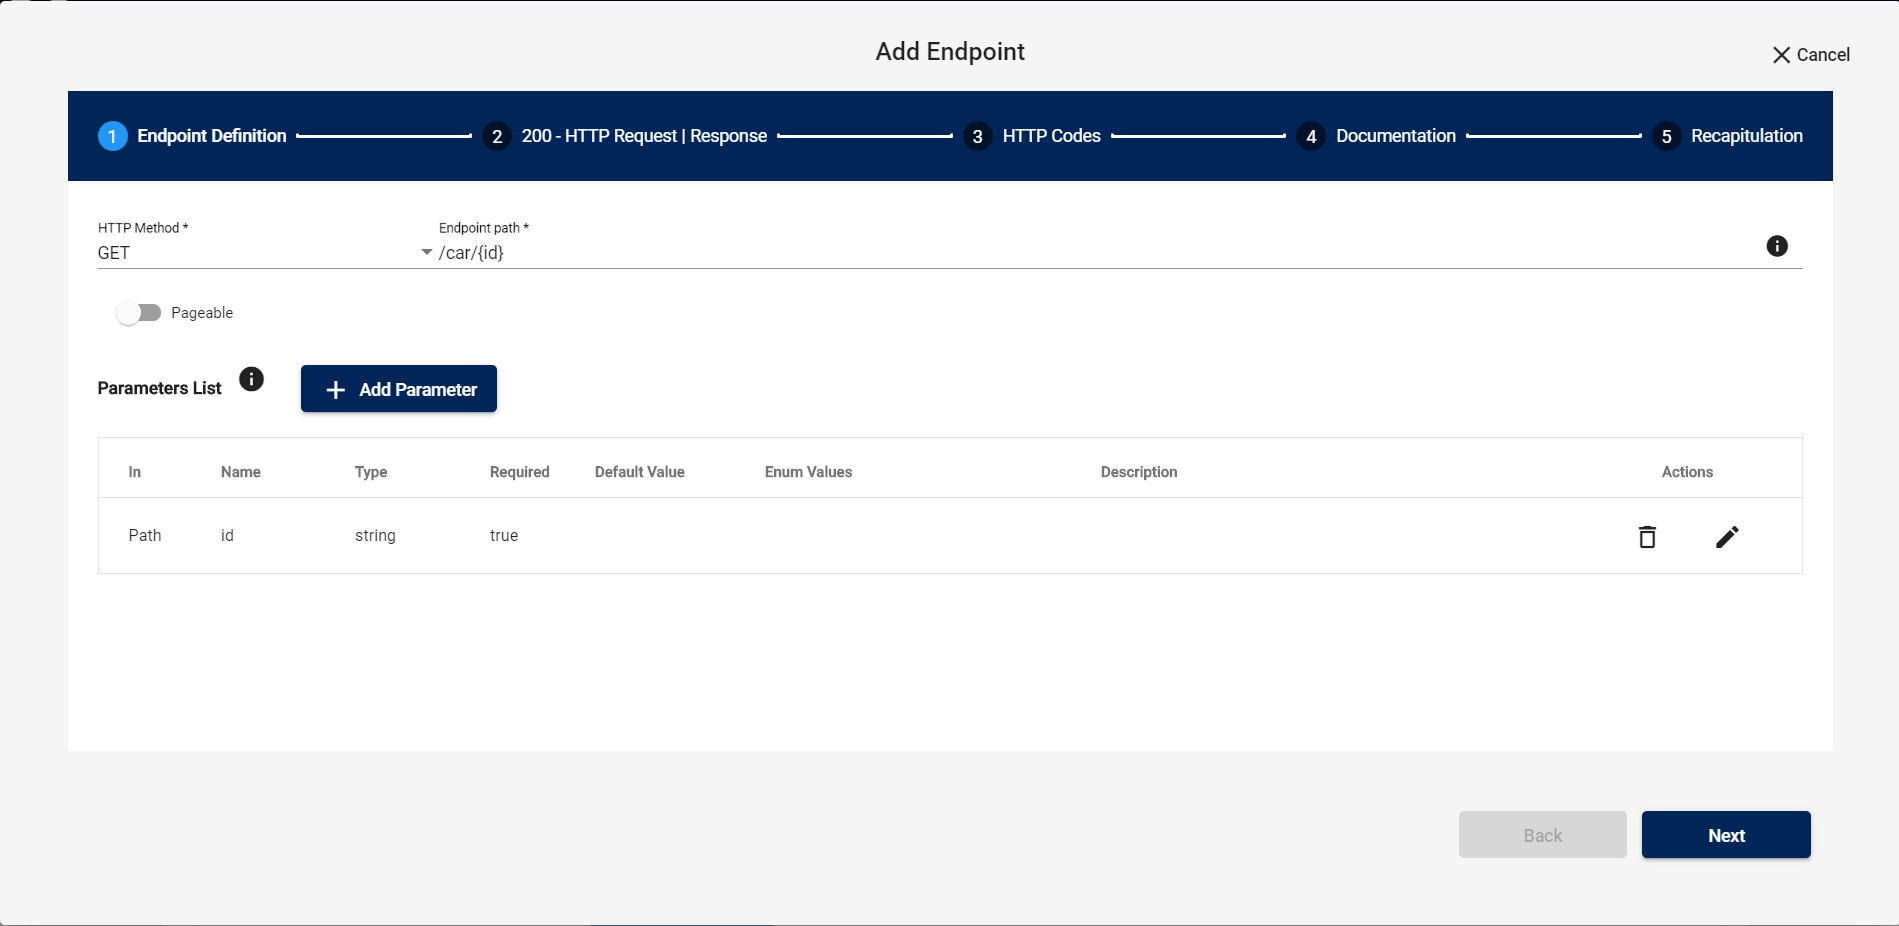
Choose the placement of your parameter: Header, Path, FormData or Query.
Insert its name and choose its type.
If your parameter is required, check the Required box.

After adding your parameters, a list will be displayed. You can edit or delete your added parameters.
Your parameter may appear on your endpoint path.
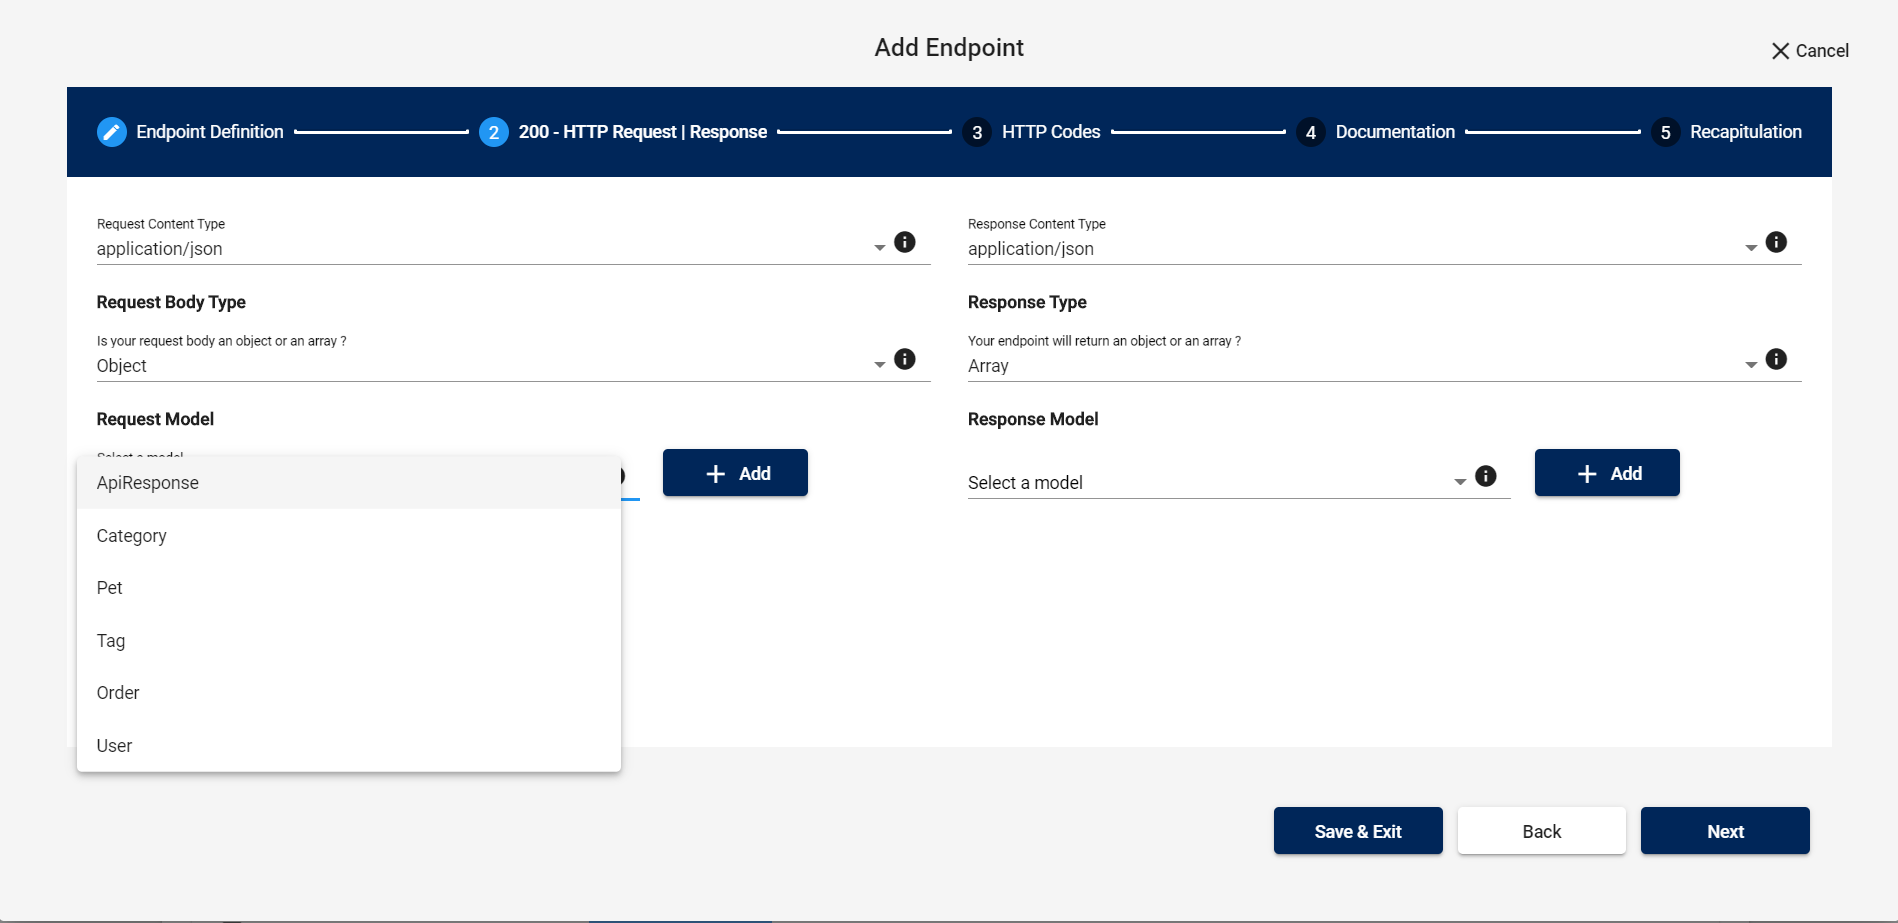
You can specify the type of your request and response content alongside with the request/response body type (object or array).
You can also choose a model to attach with your endpoint.
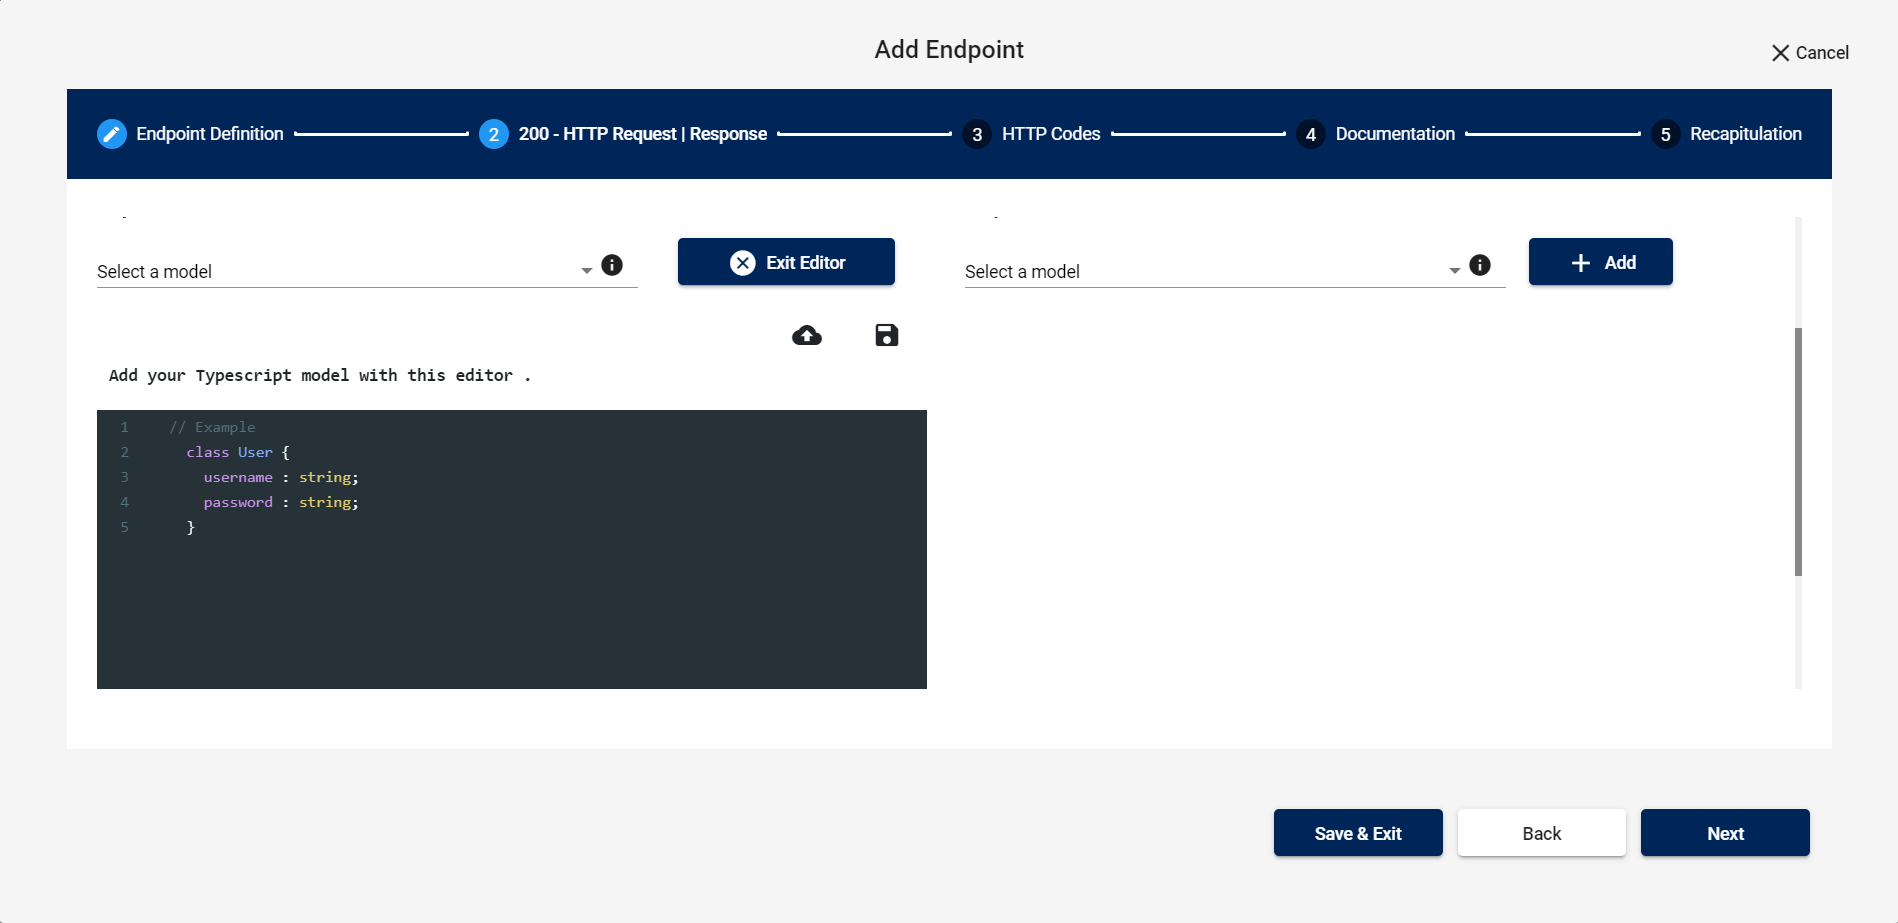
You can add a model by using the online editor or by uploading a Typescript file.
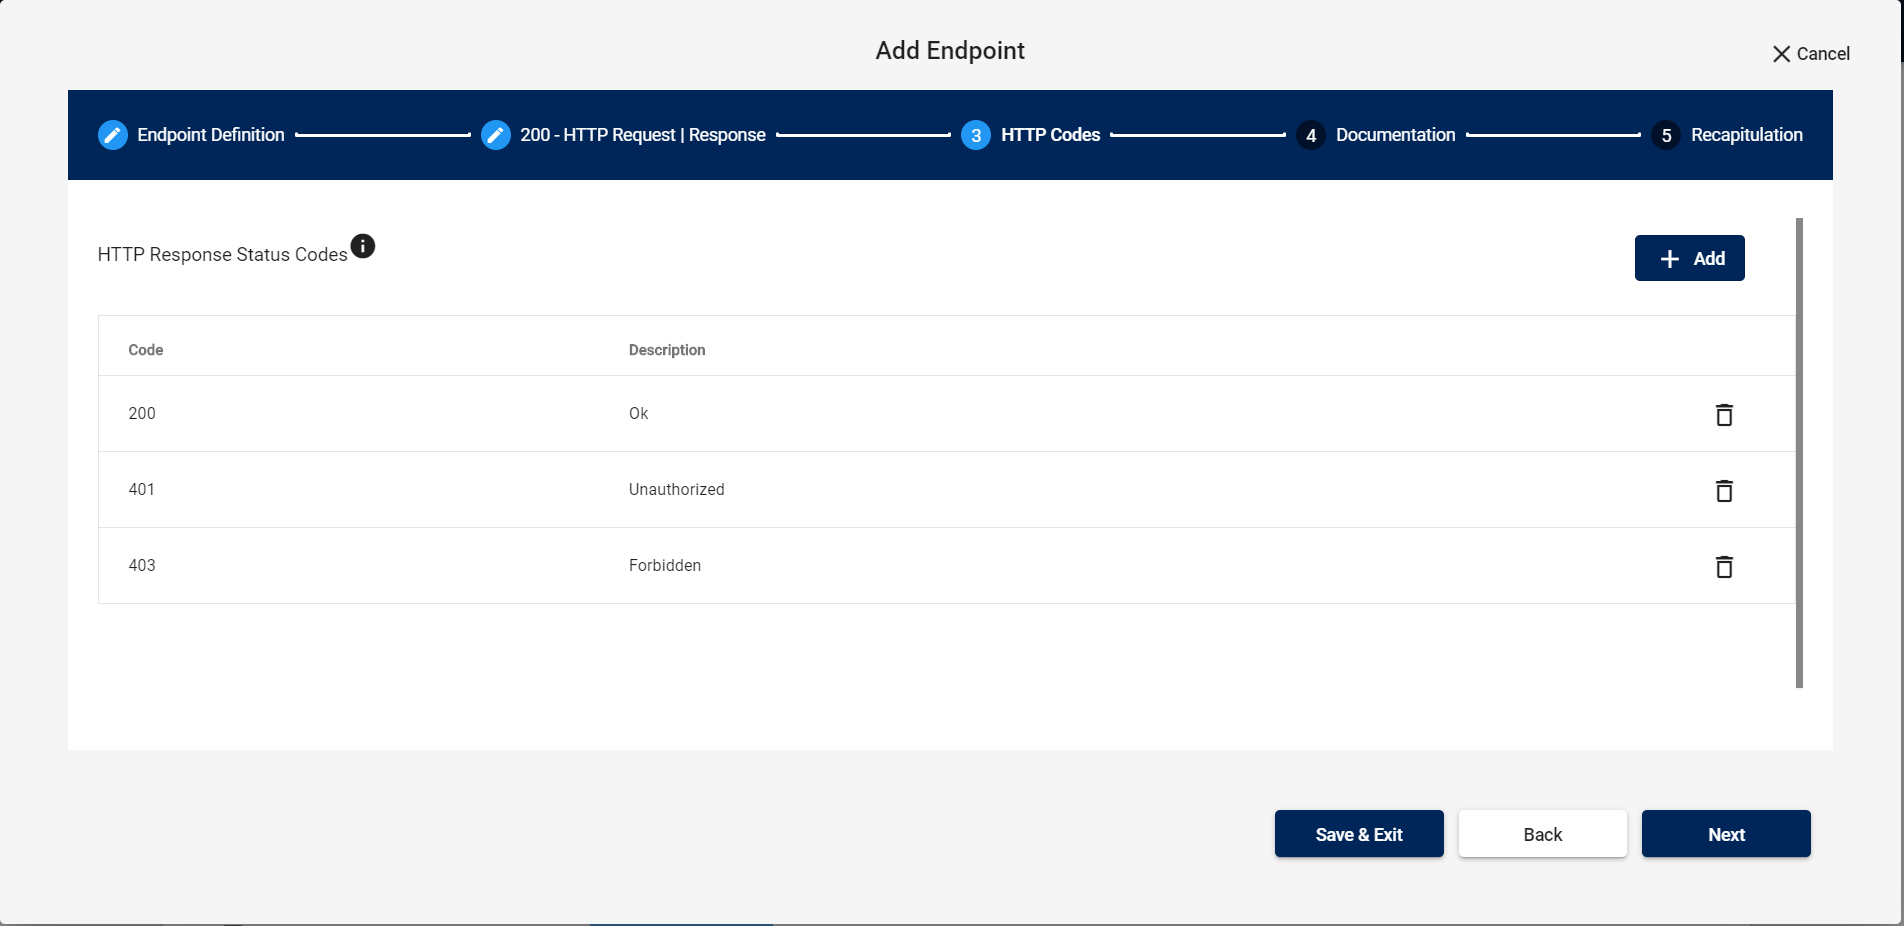
You can also add HTTP response codes with their description. A list will be displayed.
You can delete any response code you want.
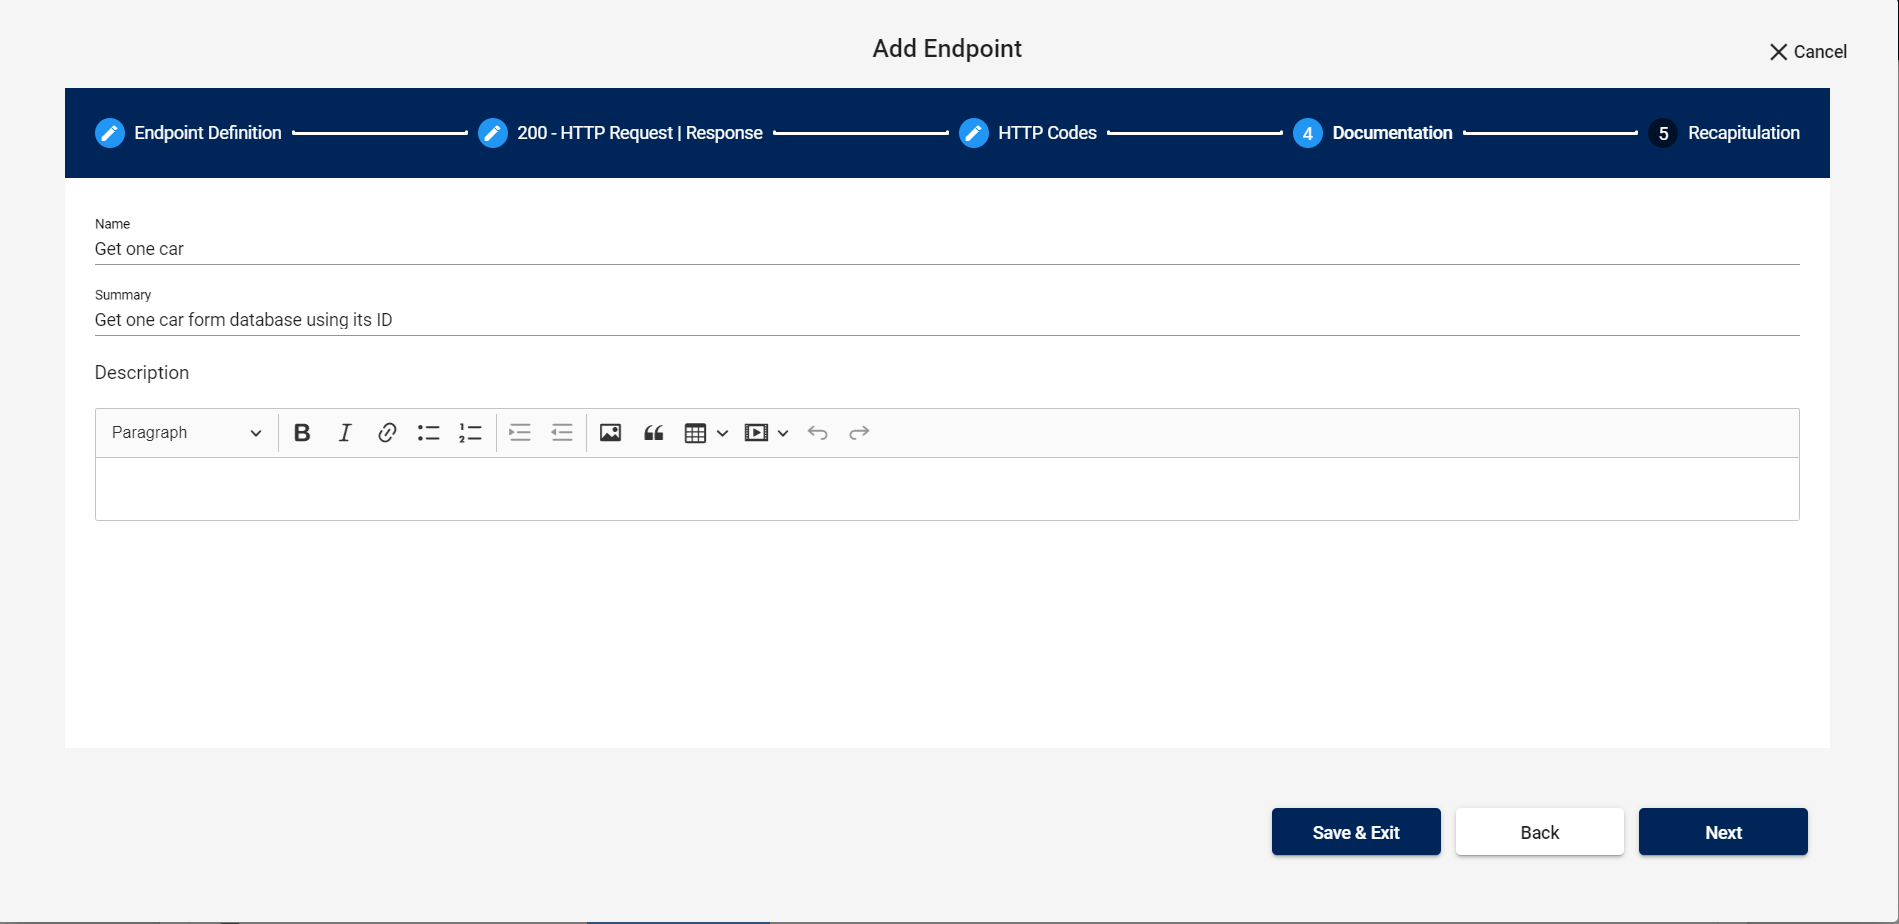
You can add the name of this endpoint, a summary and a description to explain the purpose behind creating it.
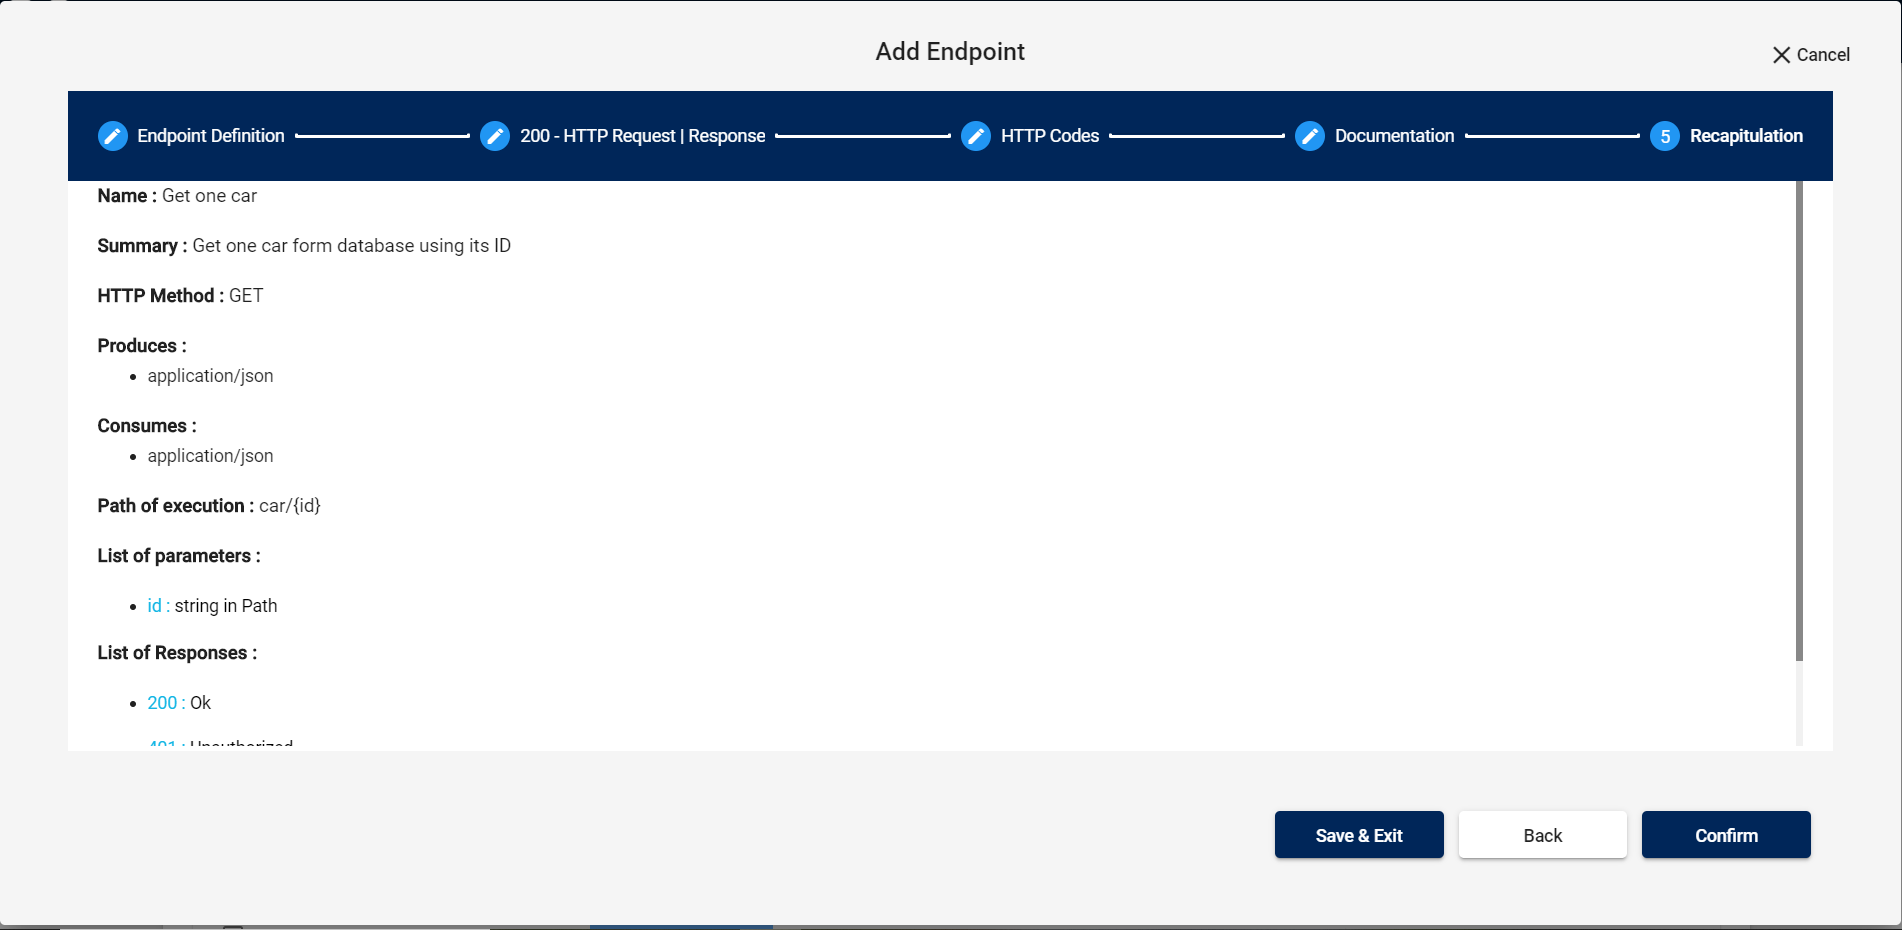
In this last section you will have a summary before creating your endpoint.
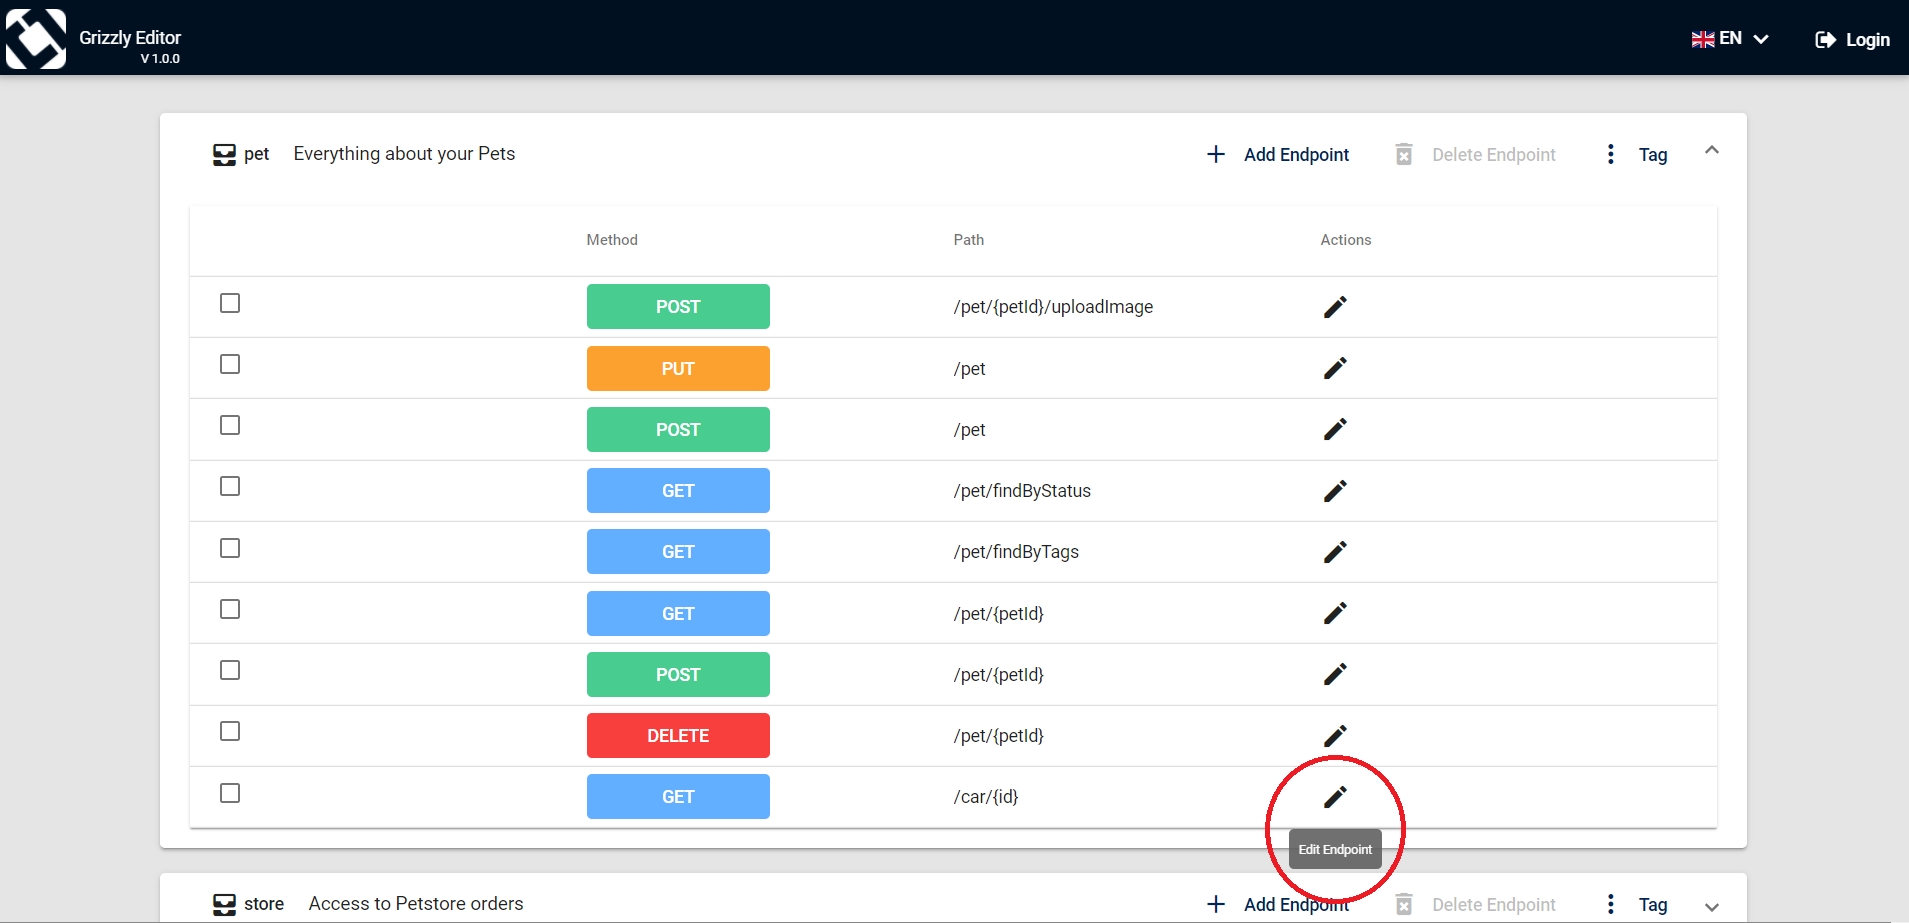
By clicking on the Pencil Icon, you can edit your endpoint. The same Add endpoint modal will eb displayed in order to update your endpoint.
Within a certain tag, you can check the boxes next to the endpoints you want to delete.
The Delete Endpoint button will be activated. Once deleted, the endpoints cannot be restored.

If you want to change the endpoint’s tag, you can simply drag it from the tag and drop it in the destination.