Quick Start Guide
First of all , you need to sign up for a Grizzly API Account if you don’t already have one. An account is required to create your own microservices and, Build and Design your API using Swagger and OpenAPI format . Sign up from the Homepage.
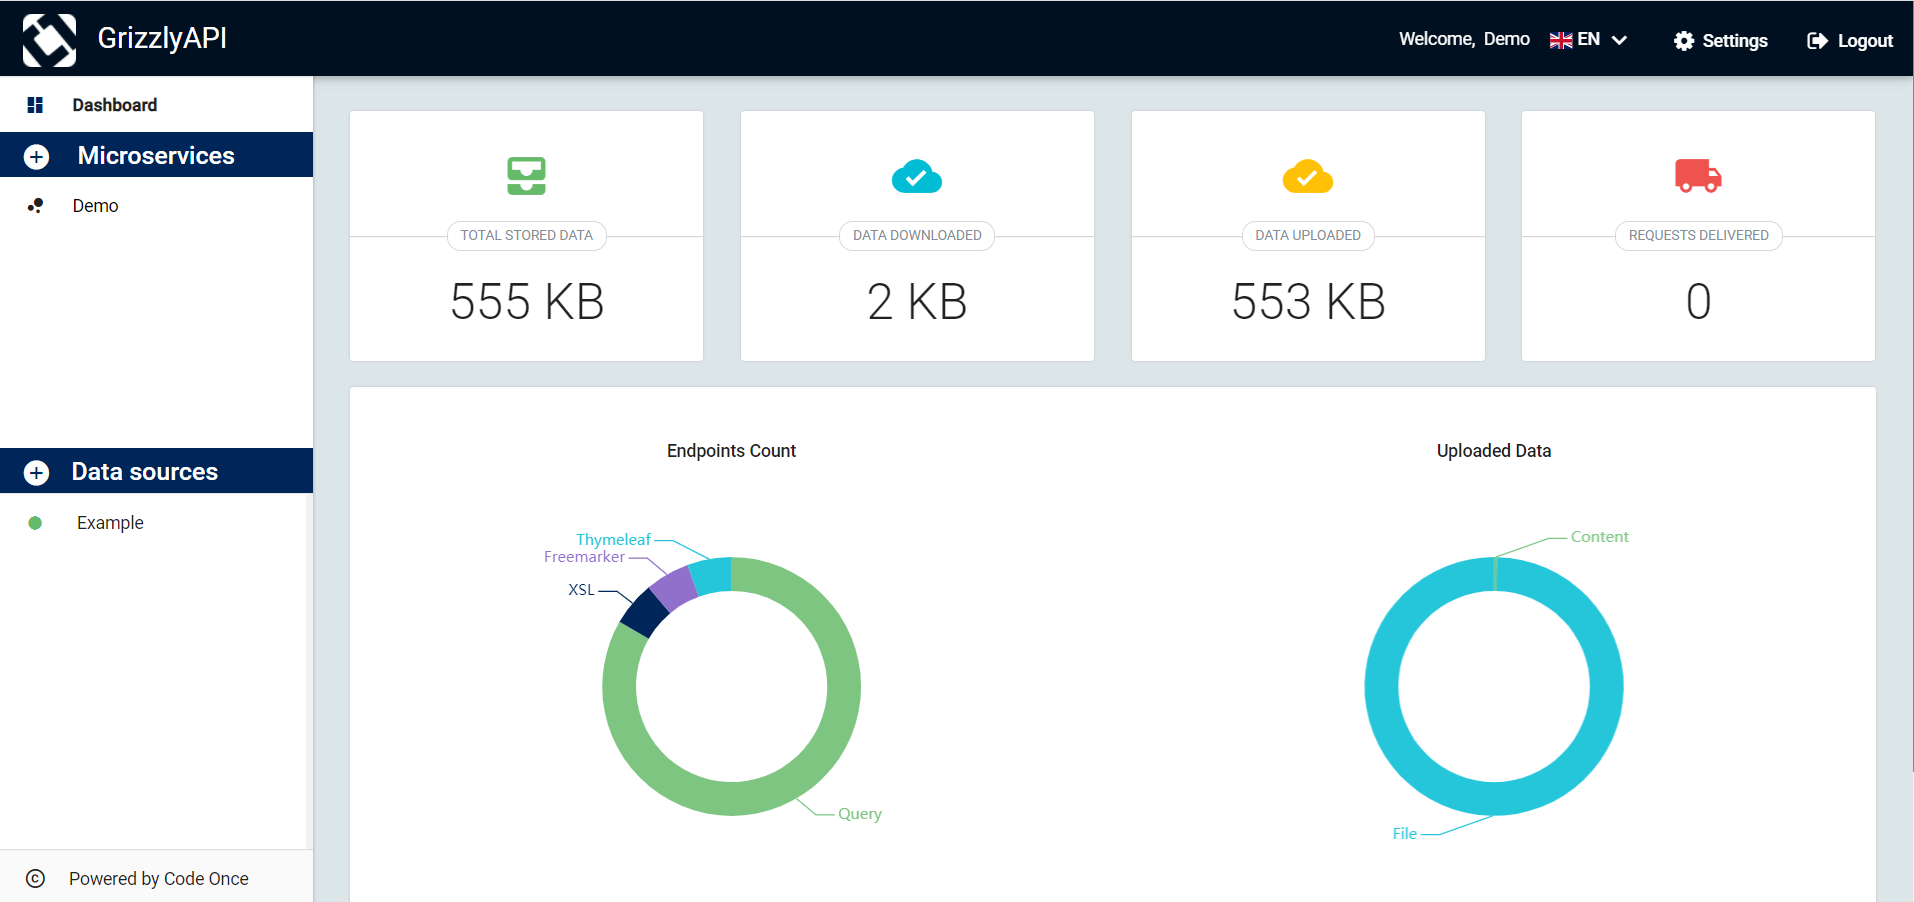
When you log in for the first time , you will find a dashboard which provides global analytics on your API, endpoints and the stored data , and a working microservice example with the name Demo.
We will and create our new microservice with the name MsTest and a related database created automatically in MongoDB with the same name.
Once your microservice is created , you will have an endpoint group with the name Authentication Grizzly which manage the authentication service of your app. The next step is to add your first endpoint to it.
Before the definition of your endpoint , you can add an endpoint group to give it a sense.
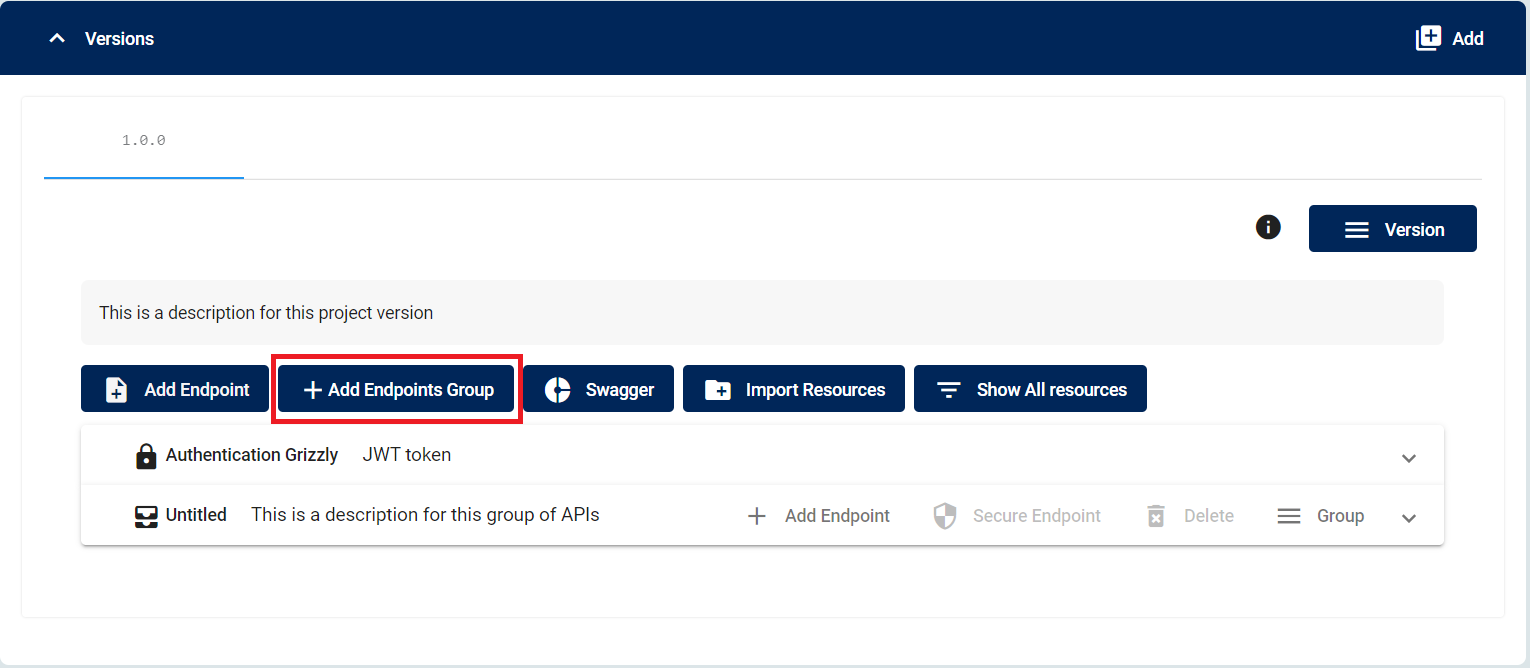
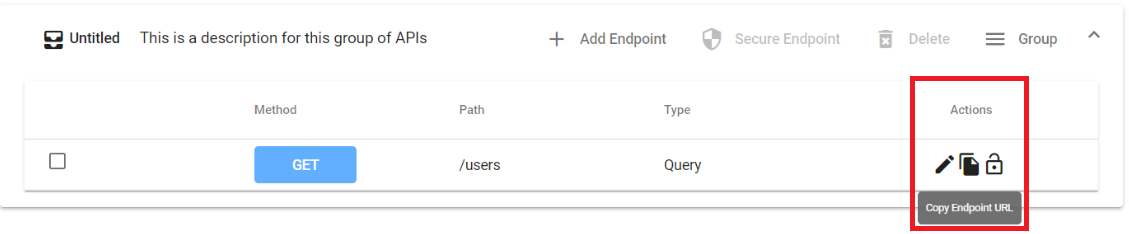
Now your endpoint group is ready to use , you can add to it your GET endpoint with the name /users for example.
In order to use your newly created endpoint , you can copy its url from the actions part.
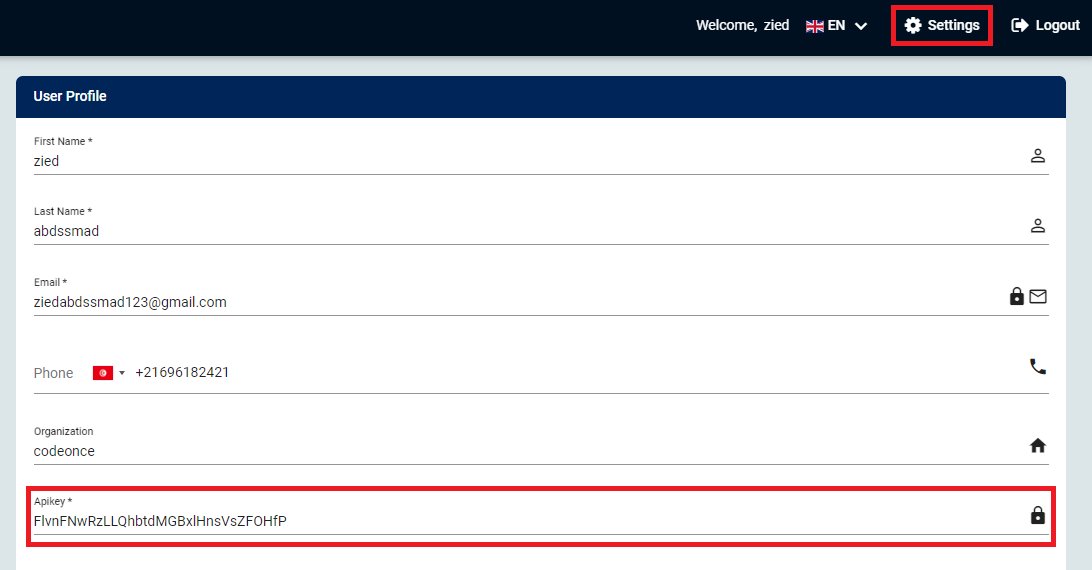
In this section , we will repeat the previous steps using Grizzly API CLI . In order to use the CLI , you must have an API KEY which is delivered once you sign up.